DIY: Washi Tape Light Switch Covers

These cute light switch covers are perfect for brightening up those boring parts of rooms. I have very minimalist walls, so this is a good way to add a little pop of colour. It’s also a great trick for adding a fun, whimsical element to your home that is completely temporary, yet can stay as long as you want. Definitely budget- and renter-friendly!
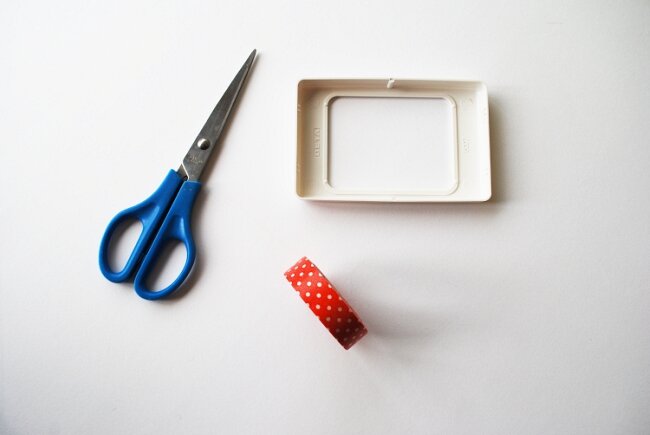 What you’ll need:
- A light switch plate that is easily detachable
- Washi tape
- Scissors
What to do:
Step 1: The majority of Australian light switches have somewhat of a border that can be detached just by unclipping it. This is the part you’ll be removing and using!


Step 2: Adhere your washi tape lengthwise or crosswise, cut the tape, and fold underneath the back. For corners, cut out a portion of the tape so that it won’t bunch up when folding over.

Step 3: If you’re using tape with a pattern like chevron or polka dot, do your best to line up the pattern as you apply the next strip of tape.


Step 4: Once you have covered the front, simply clip it back into place on the wall.
.
Will you be trying this clever DIY light switch hack? Please let us know in the comments section below!
.
– By Whim’s DIY / Craft Blogger Nikki. You can also follow Nikki on Twitter or Instagram!